Image Map

Sunday, 13 July 2014

Summer Empties

In England, the last couple of weeks the temperature has been reaching the mid to high twenties, so I think Summer has finally arrived. I took the chance to collect all my empty bottles and containers and write a blog post for you all!
The first two products which are both completely empty are both shower gels. The one on the left is a travel size Molton Brown body wash and the one on the right is a Soap and Glory body scrub. Both of these shower gels have worked wonders for my skin, and I especially love the smell of them!

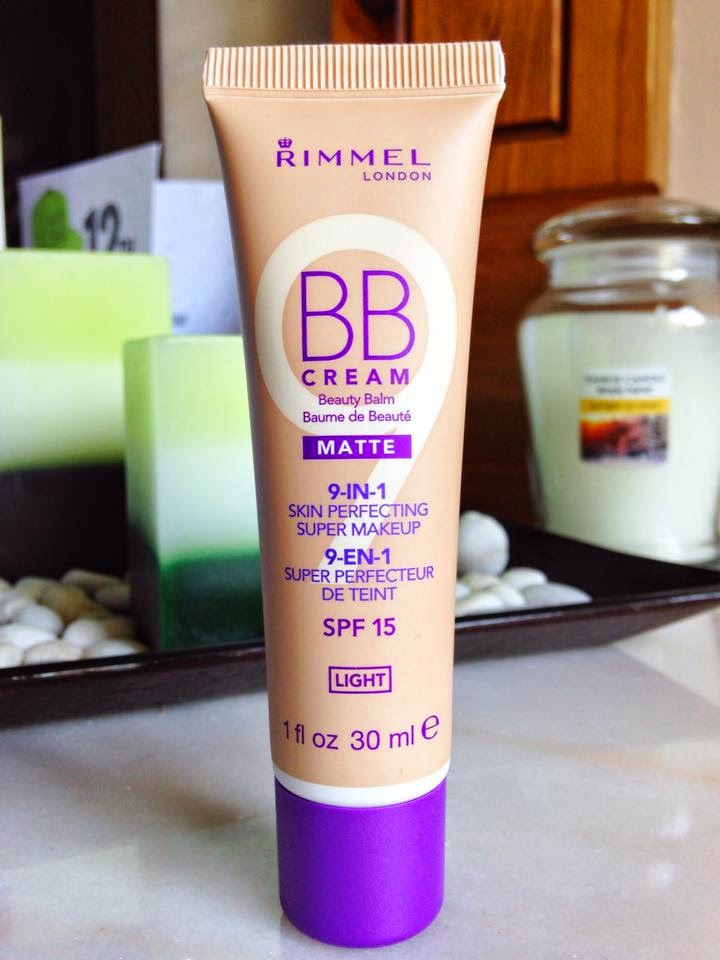
Next, I have two empty make up products; my Rimmel Wake Me Up foundation and Maybelline The Rocket mascara. This foundation ran out quite a while ago now as I wear a BB cream for the summer, however during the winter this supplied me with a great coverage. Also empty is my favourite mascara, but I will be sure to re purchase this item.

Now moving onto skincare. My 10 day samples have now run out, but I can 100% say they made a massive, positive impact on my skin. I will definitely be looking t repurchase probably the full size bottles of these.

Now, I know that I technically still have multiple pieces of broken product inside my Rimmel Powder, however I find it extremely hard to use when broken. It's just when the little bits get stuck to my powder brush and I find it very hard to apply. So, for the sake of around £3, I just went and decided to purchase another one. Alongside my emptyish powder, I have a completely empty Pore fessional from Benefit. This was only a sample size which I received with an old copy of my ELLE magazine, although I loved using every bit of this product as it made my pores shrink away and made applying my makeup a lot easier.

Finally, I have a moisturiser. I actually picked this up in Spain, as they were ridiculously cheap out there, however, I LOVE LOVE LOVE this product. For starters, it smells amazing, which is always key for a moisturiser. Secondly it keeps my skin hydrated for ages and thirdly it is not sticky, which I am always picky about. I am not sure if you can purchase this in England or America, but I am pretty sure if you googled it online, then you'd find it!

That's it for all my Summer empties so far, I hope to try out more products to share with you guys and review!

Sunday, 15 June 2014

Brand Focus | Eco Tools Eye Makeup Brushes

Recently I have purchased quite a few more makeup brushes, the majority of which were Eco- Tools. My first impressions of these brushes are great ones. So far, I have got two sets of brushes, the first being the 'Mini Essentials Brush Kit' and the other being the 'Bamboo 6 Piece Eye Brush Set'. I have already muddled up the brushes as I contain them in a light pink glass pot from Ikea, however when I purchased these brush sets they came with a mini travel bag which I thought was cute!


Unfortunately I left out the big powder brush which is why you can only see 7 brushes in the photo!!


In the picture above, I have the slightly smaller brushes of them all. From left to right there is an eye shading brush, a highlighting brush, a petite eye shading brush and an angled brush. I use these brushes when applying one single colour to my lid as I find they are small enough to get the exact colours onto the exact placement of my lid.


Now, in this picture above I have the main two brushes I use when applying eye shadow. The one to the furthest left is the large eye brush which I use as my main blending brush. I love how this is large enough to cover nearly the whole of my lid which enables me to blend and soften hard eye shadows. In the middle is the angled crease brush. I use this to blend in slightly darker eye shadows in my crease and outer eye area to give more definition to my eyes. Finally, (hiding behind the angled crease brush) I have my angled liner brush. I find this is great to blend out my pencil eyeliner as it gives a smoky and less defined, eye look.

Overall, I love the Eco Tools eye makeup brushes. Unfortunately I don't have anything to compare them too as they are the only full set of eye brushes I own, but I am very pleased with the application they provide and I hope to purchase even more!


Where to buy:

Sunday, 1 June 2014

Clinique Custom Fit 3-Step Skincare

Back in April, I wondered into Boots and the first thing which caught my eye was the Clinique counter. (Maybe because its right at the entrance of my Boots store!) Anyway, I was browsing through the products when a lady from the counter asked me if I wanted to try a free 10 day skin care routine. I happily accepted the offer, and she sat me down at the table and tested my skin type. It turns out my skin is combination-dry, so she kitted me up with 3 free samples. 

In the sample box, I received a face wash, exfoliating toner and a moisturiser. Obviously, these three products are designed for combination-dry skin, however depending on what skin type you are they would have supplied you with different products. You are supposed to you each product twice a day; once when you wake up and the second just before you go to bed.


Firstly, I use the face wash. I squeeze a pea sized amount into the palm of my hand and gently rub onto my wet face. I then wash off and dry my face as usual.


Secondly, I use the exfoliating toner. I get a cotton pad and only apply two drops of the toner onto it, considering it is quite strong. At first, the toner smelt very strong and even alcoholic, so when I applied it my skin kind of stung afterwards. This was doing my skin good though, unblocking all my pores and deeply cleansing my skin. After about 5 days, my skin was used to this toner.


Thirdly, I use the moisturiser. Again, I only apply the smallest amount- a little bit goes a long way! I gently rub this all over my face, focusing especially on my cheeks as they can sometimes get a little tight.


That is all, the three step skincare is great, and has had and will continue to have great results! Although it is only meant to last 10 days, mine has lasted well beyond 20 which is great. My skin is already starting to look clearer and I am happy to have finally found a great skin care routine that works well for me! The only problem I have is that my skin type is edging on combination oily, not dry, so I think when I go and change one of the products, the results will be even clearer and quicker!

Sunday, 25 May 2014

May Makeup Favourites

Hello! The end of May is approaching, so I have taken the chance to write my May favourites and I have just stuck to makeup products this time to make sure I don't lag this post on! Also, all products mentioned will be listed at the end with the website of where to buy.


First if all, I have the Boi-ing concealer from Benefit. I have been using this a lot recently alongside my BB Cream, and together they improve my skin. However, I only use this concealer in very small quantities as too much can make your skin look flaky and dry.


Now, is my Rimmel London BB Cream Matte. A couple of weeks ago, I wrote a long review on this product which you can view here.


Next, I have another product by Rimmel, the Apocalips Lip Lacquer in the shade Luna. This is a gorgeous nude colour with hints of orange and coral in. I have worn this lip gloss a lot this month, as it compliments my slight tan and looks great in the sun.


Next, I have my gorgeous MAC eye shadow in the shade Honey Lust. Ever since I purchased this product I have worn it pretty much everyday, and especially this month, I have layered it with lighter colours to create the perfect nude eye. I aim to write a review on this product in the future, so look out for that!


This month, I have also been loving the Bourjois blush in the shade 54 Frosted Rose (Rose Frisson). I try to avoid using lots of bronzer in the Summer, so instead I revert back to blushers. However, I dislike using dark, dramatic blushers and when I found this I thought it was the perfect, natural blush for me.


Now, I have a black, pencil eyeliner from Model Co. I received this in a magazine for £4, but when I looked this up online it saw it was worth about £15! Generally, I really like this eyeliner, I feel as if it doesn't make my eyes look too harsh as long as I blend the product out.


Finally, I have a nail polish from Barry M. I recently did a review on the Gelly collection (you can view that here) but I just saw there new range and had to purchase this gorgeous colour! It is in the shade 404 Mediterranean from there Aquarium range.When on, it is a sparkly coral colour with many hints of gold shimmer in. This is perfect for the Summer and I really would like to invest in more of these, especially the turquoise colour!


That is it for this months favourites, please leave me any of you opinions below, especially if you own any of these products!


Purchase the products here:
Thanks
xox

Sunday, 18 May 2014

How to | Fruity Meringue Nests

As part of my food technology at school, I was allowed to bake anything I wanted on the last lesson. My mum suggested meringue nests, so I decided to make them! I understand this isn't the healthiest recipe (especially as it's my first baking blog post) but these taste delicious and also look quite professional.

What you will need;
• 2 large egg whites
• 110g caster sugar
• 150ml double cream or whipping cream
• A punnet of your chosen fruit(s)
• Mint leaves

Method;

1. First of all, you need to preheat your oven to 140°C. This is important you cook your meringues at a low heat, because otherwise they burn very easily.

2. Next, put your eggs whites in a large mixing bowl and begin to whisk on a low speed. After a few minutes, gradually add the caster sugar, remember to keep whisking though.

3. Your mixture should now look shiny and should be very thick. After lining and greasing a baking tray, spoon a generous amount of mixture onto it. Then get a teaspoon and make a dip in the middle of each nest, making sure you don't scrap the bottom off.

4. Put meringues in the oven for 30 minutes.

5. Once your meringues are out the oven, carefully transfer them onto a cooling rack. Whilst they are cooling, you can now make the topping.  Place one third of your chose fruit into the mixing bowl and whisk until runny. Now add in all the cream and whisk together, until the mixture is fully whipped and very thick.

6. Place your meringues on a plate and spoon in the fruity cream topping. You will probably need about 3 spoonfuls on each. To finish, add the left over solid fruit and a few mint leaves. 


The first batch I made were Raspberry.


Then, I also made some blueberry ones. Both were equally as tasty!


That's it for this baking blog post. It was my first one (please bear that in mind) but I hope to do a few more in the future, possibly even healthier ones!


Wednesday, 14 May 2014

Rimmel London BB Cream Matte | First Impressions

Back in April, I received a sample size of this product in my magazine. It was only in a small, plastic pocket-like thing, but I managed to get a good 10 days use of the product. Before using this, I only applied concealer and dabbed small amounts of the Rimmel Wake Me Up foundation on my T-zone, nose and under eyes. But, considering it is now Spring, and slowing edging towards Summer, I thought I would repurchase the BB Cream.


I brought this in Superdrug for £5.99. I had previously seen this product in Boots, however it was £6.99 and, at the time, they didn't have the colour I wanted. 

Firstly, it comes in quite long small plastic tube, around 15cm long. When I first saw the product, I thought I would finish the whole tube within a matter of weeks, but that was before I realised a small amount goes a very long way! Rimmel claim this is a 9-in-1 skin perfecting BB Cream; 1) Minimises the apperance of pours, 2) Evens skin tone, 3) Mattifies, 4) Controls shine all day, 5) Smoothes, 6) Soothes, 7) Conceals dark circles, 8) Helps prevents blemishes and 9) Gives all-day coverage. This cream also has SPF 15 in, which is perfect for the Summer sun. 

This BB Cream offers great coverage, part of the reason you don't need an awful lot. I would say it is medium coverage but definitely build-able. I apply this with my Expert Face brush by Real Techniques, and I spend a good few minutes properly blending it into my skin to get an airbrushed look finish. From my experience so far, I would say that this product only lasts about 8 hours, for me this is fine, but if you wanted an all day coverage, I would recommend giving your face a light dusting of powder. I am aware this BB Cream is matte, however if you had oily skin or the product looked a little dewy on you, it is easily mattified with any powder.

Overall, I love this BB Cream, as I feel like I am using a foundation but it is much kinder to my skin and pores, giving me a very neutral and skin perfecting finish!

Wednesday, 7 May 2014

My 5 favourite mascaras

I always struggle to find the perfect mascara, so today I have put together five of my favourites to hopefully give you some help and guidance.


My first mascara is the Rocket Volum' Express by Maybelline. I have used this mascara pretty much everyday for the last six months, and it is finally coming to an end. I would recommend this for people who like to have big and voluminous eyes, as with a few layers of this mascara, you get just that look! This is also great regarding the price. I believe you can purchase this from places like Boots and Superdrug for only £7.99. You can also buy this product in the waterproof version, which is always handy for people who regularly go swimming or live by the beach.


My second favourite mascara is They're Real by Benefit.This has been the UK's top selling mascara for a while now, and the majority of people I know use this. I have the mini one, which I received in a gift set and it is the perfect travel size. Price wise, this mascara is rather expensive for what it is, and I am aware Maybelline and other drugstore brands have dupes of this product for a fraction of the price. However, I love using this mascara and feel like it really helps to emphasize my eyelashes and draw positive attention to my eyes.


Next, I have the High Impact mascara by Clinique. I used this mascara a lot last year and the year before, but sadly it has now run out. Yet again, this is only the sample size, but it still lasted a long time. This mascara helps to make your lashes look fuller and gives an overall effect of lots of volume. I would recommend this product, but yet again I am not sure whether it is worth its retail price.


Fourth on my list, I have the Lash Accelerator Endless mascara by Rimmel. I love the thin, prestigious applicator on this as I feel that when I apply this, it successfully seperates my eyelashes and individually lengthens them and leaves absolutely no clumps. This can be brought from Boots for only £7.99.


Finally, I have the Telescopic mascara by L'Oreal. This is a slightly more expensive drugstore product with a retail price of £10.99. However, I love how this mascara gives my eyelashes infinite length and volume. The only complaint I have to say about this product is that when I first used it, I used to get clumps but once I had worn it more, the clumping slowly stopped. 


To finish off, the next mascara I would like to purchase is The Falsies by Maybelline. I have read lots of great reviews online and I will be sure to write one myself if I get the opportunity to purchase the product!